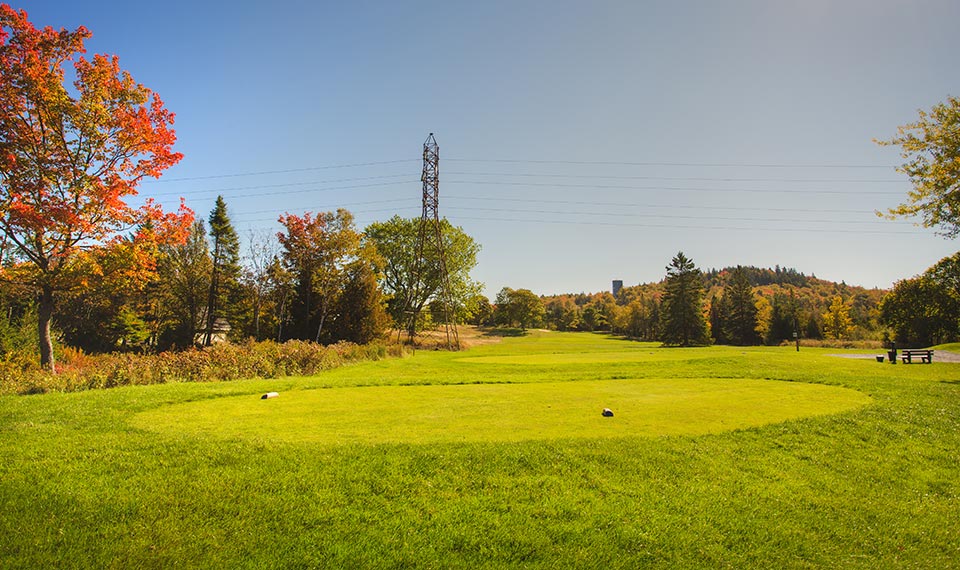
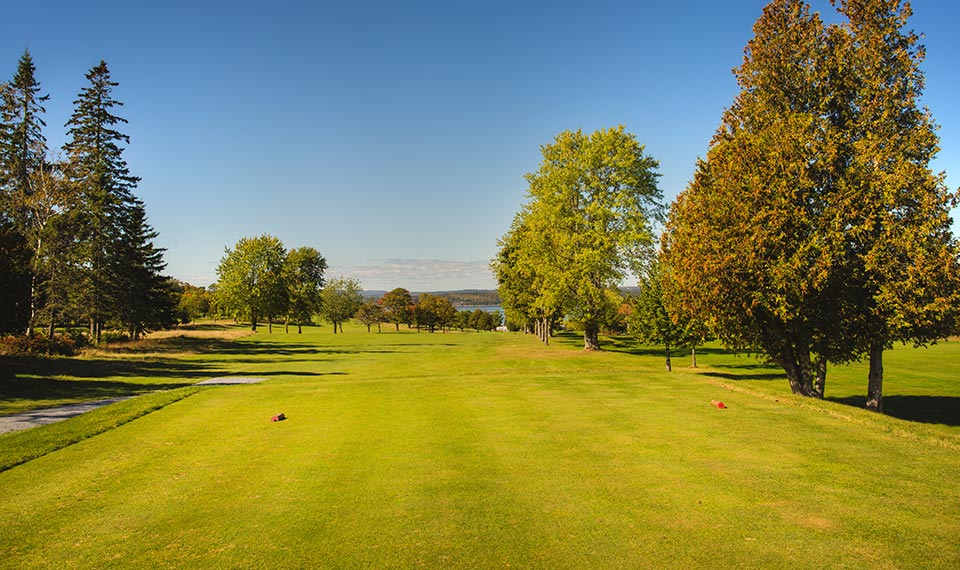
This classic Donald Ross designed 18-hole championship golf course is an enjoyable test for any player. The serene views of the Kennebecasis Valley top it off.
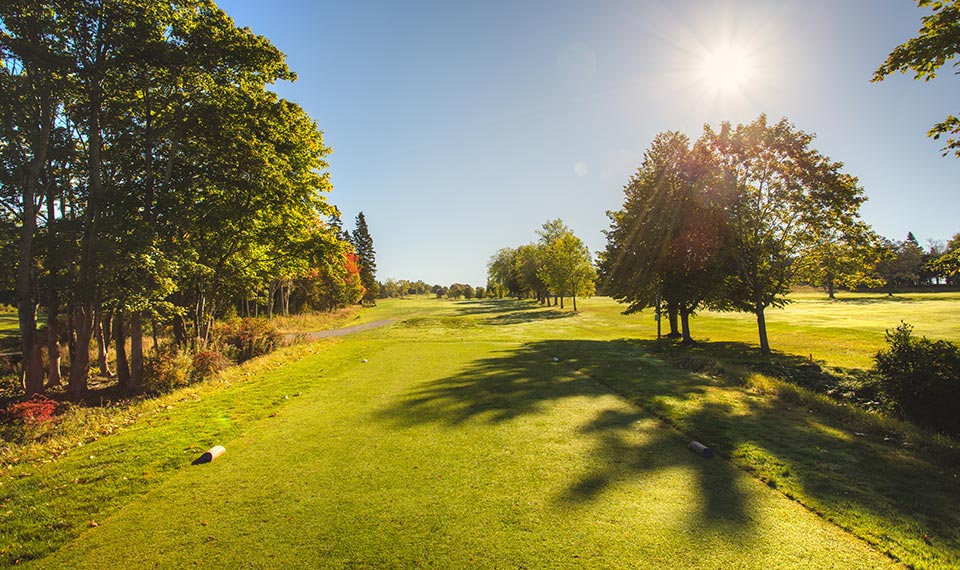
The opening hole tee shot requires you to play to the right side of the fairway, allowing the contours to take the ball to the center of the fairway. Your uphill approach shot, with a mid to short iron, demands that you play to the center or right side of the green, making sure you miss the left greenside bunker.
Be sure to take a half club more on your approach shot and aim for the right side of the green.

This straight-ahead par 5 calls for a driver down the center. Careful to miss the lateral hazard that lines the left side of the fairway. Your second shot requires a choice - go for it or layup. Keeping in mind the two large greenside bunkers that lay waiting along with a very deep fairway bunker 50 yards short of the green.
Be sure to keep your ball below the hole to have the best chance at making your putt and avoid the dreaded 3 putt.
This short, uphill par 4 is a risk reward hole. Long hitters have a chance to drive the green surrounded by deep bunkers and OB down the left side. Any drive placed in the fairway missing the left side fairway bunkers will have a short shot to the green that slopes from back to front.
Be sure to leave an uphill putt. Your club selection off the tee will depend on flag placement. Should the pin be at the back of the green bomb away with the driver, however, if the pin is at the front, you may want to leave a full shot into the green.

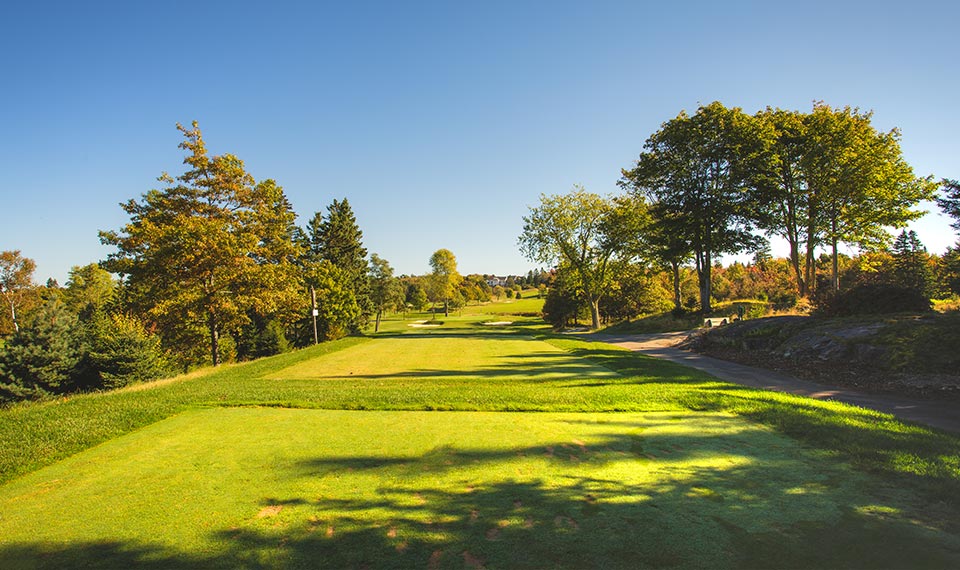
The second of the par 5’s on the front side is a dogleg right. The fairway is deceivingly wide and the tee shot is tough, especially when the wind is blowing, with woods lining the fairway on both sides and a huge bunker on the left. You’re faced with another tough decision of whether to go for it or not because the layup isn’t easy either with 2 strategically placed bunkers near the landing area. Another large greenside bunker, short and to the left of the green, doesn’t make for an easy approach shot. The green is one of the toughest on the course.
If you’re intimidated by the tee shot then hit a shorter club and play it as a three-shot hole.

The first of the four par 3's on the course is a demanding one. Bunkers surrounding the green make for a difficult tee shot that’s usually played into a significant wind.
The pro side miss is to the right. Left is almost certain doom.

Short dogleg to the right, but don’t let the distance fool you. If you don’t place your shot perfectly you could find yourself in the lateral hazard through the fairway or the woods that line the right side of the hole. Your shot into the green with the deepest bunker on the course stares at you on the left, so you better avoid it and play your shot to the right center of the green.
Ideal position is a 200-yard shot at the 150-yard stake

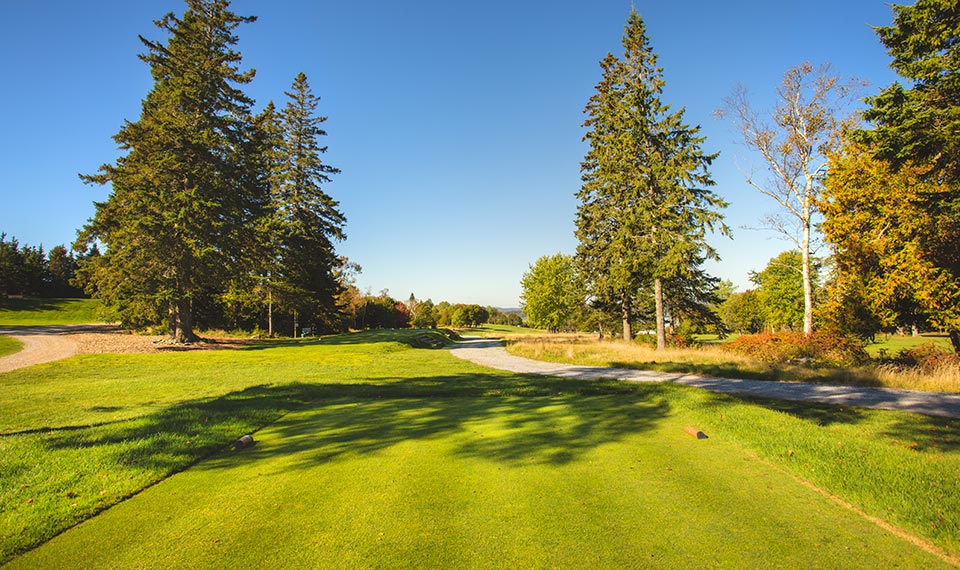
One of the toughest holes on the course is a slight dogleg to the right with a fairway bunker on the left and woods that line the entire right side. Your tee shot should be played just to the right side of the bunker with a slight left to right shot shape. Your shot into this turtleback green is well placed in the center of the green and a two-putt for your par should be considered a success.
Be sure not to miss the green on the same side that the flag is on - also known as short sided.

An elevated tee shot to the shortest of the par 3’s on the course is well placed to the center of this postage stamp green.
Be sure not to miss long.
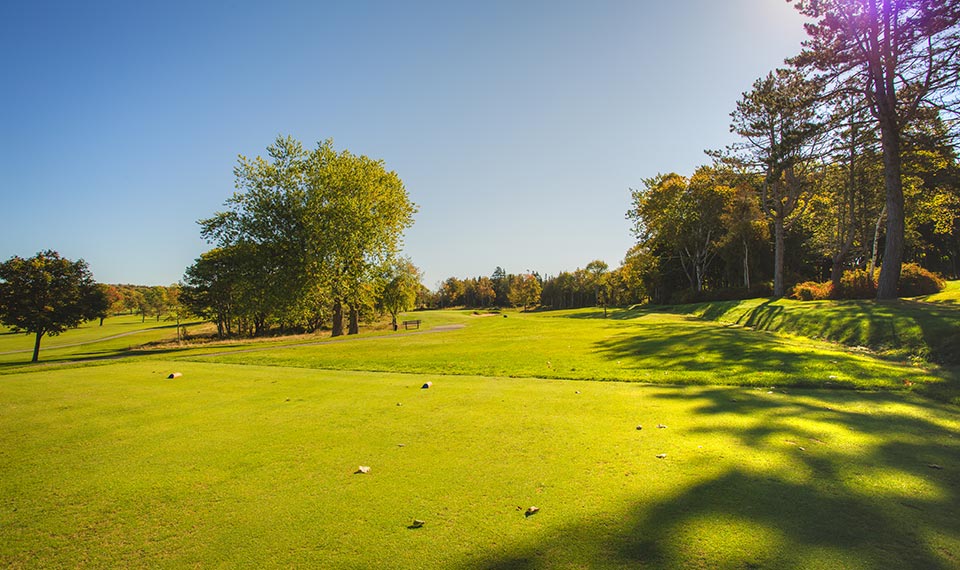
The finishing hole on the front side is a good par 4 with a wide landing area off of the tee. Be sure to keep it out of the fescue on the left side. The ideal approach is to the left side of this elevated green that slopes left to right.
Aim for the right side of the fairway to get the best chance to have a flat lie and good angle into the green.
The back nine starts off with a challenging par 3. Choose the right club, put your best swing on it and fire away. Avoiding the front right bunker is a must if you want to walk away from this hole with a good score. A well-placed shot into this green is in the front to middle of the green.
The smart shot is to avoid the front right bunker and hit your ball on the green, leaving an uphill putt.
The eleventh hole is a straightforward hole, but don’t get too comfortable. There is a hidden water hazard past the trees on the right. Should you have a drive down the fairway you’ll have a slightly uphill approach to a green that slopes left to right. Be careful to avoid one of the biggest bunkers on the course to your right.
Leave yourself with an uphill putt. If the pin is at the back of the green, take an extra club because the green is deceptively deep.

The tee shot over water to a fairway on a side slope might mean you’ll have a tough lie. Make the proper adjustments and fire your approach shot over the hill and let your ball run up to the green. The green is guarded by a trap on the front right which tends to collect short shots. A large green with 2 tiers means you’ll want to hit your shot on the same level as the pin to have the best chance at making your putt.
Play a tee shot to the top of the hill on the left or try and keep it on the flat before the hill.

This is a tricky tee shot and a drive to the right of the huge tree and long fescue is the smart play. Your shot into an elevated long green with sand traps front left and right is no easy task. A deep green means distance control is key to getting it close.
Long hitters can bomb a drive over the large tree. If you're hitting into the fairway, aim to get it past the large mound for a flat lie.
The fairway has lots of room but it is tree lined on both sides. A perfect tee shot is in the left center of the fairway. Two good shots and you might get all the way up the hill to the green. Two big bunkers guard the front of the green. This large green is sloped from the back right and is one of the most difficult on the course.
Take a half to a full club more for your approach shot because the green is uphill and you want to avoid the front bunkers.

The short downhill hole from the highest point on the golf course may look easy but with normally strong winds and a water hazard down to the left of the green, means you have to be careful. The approach shot is to one of the smaller greens that slopes back to front and is guarded by a trap on the right side.
Long hitters choose a shorter club to avoid reaching the water hazard and set up a full shot into the small green.

Some would consider the sixteenth hole as one of the easiest on the course. A straight ahead tee shot down the hill will leave you with a short iron or wedge into a green sloped from back to front.
Pay attention at the green. Land your ball short left and watch it feed up to the hole. Avoid going long at all costs as it makes for an extremely tough up and down.
The second to last hole is a slight dogleg left with two fairway bunkers waiting for any missed tee shots. From there, your uphill approach shot to the trickiest green on the course demands you to play to the left side of the green staying away from the front right bunker. Walking away here with par is a great score!
Aim for the front left side of the green and let the slope of the green take your ball down to the pin.

The finishing hole is Riverside's signature hole. Once you look at the views from the tee you’ll see why. Keep focused, as you still have a tough downhill tee shot with bunkers left and right of the green.
If you're not going to fly it all the way to the green, hit your tee shot with a club or two less, just over the fairway bunker and let the ball run up to the green.